Cable Tray Project
This is a project that I've been meaning to do for a long time now. The need to install some additional network cables and to replace a few old Cat5 cables, meant that I finally bit the bullet and ordered some cable tray hardware. This will make the whole installation much tidier and also help protect the cables from damage.
I should point out that using 100mm wide cable trays is considered over-kill by some but, I wanted to do the job properly and have some space spare for future upgrades. Having priced it all up, the hardware I've used here cost me just £138 including delivery. This doesn't include the mounting brackets though but, I'm making those myself.
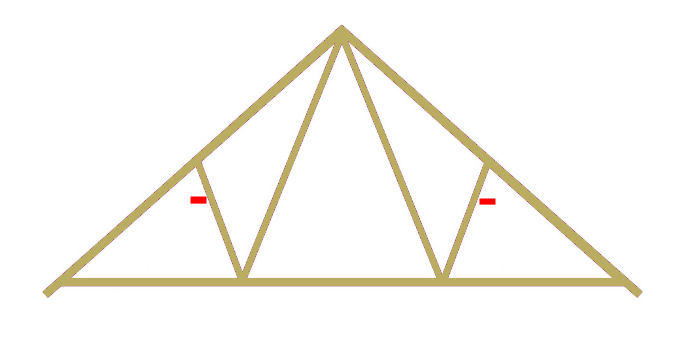
This image shows the basic shape of the roof trusses in my loft and where I plan to run the cable tray. It runs along the full length of both sides of my roof (8.5m long) and then along each end wall (3.4m long). This basically means that I need eight 3m lengths and four 90° corner brackets. The excess 0.5m from each length will be used to extend the tray at each end of the loft.
Cable Trays

These Legrand SSL100PG 3m sections are pre-galvanised and deemed 'light duty'. They are really quite sturdy, without being too heavy.
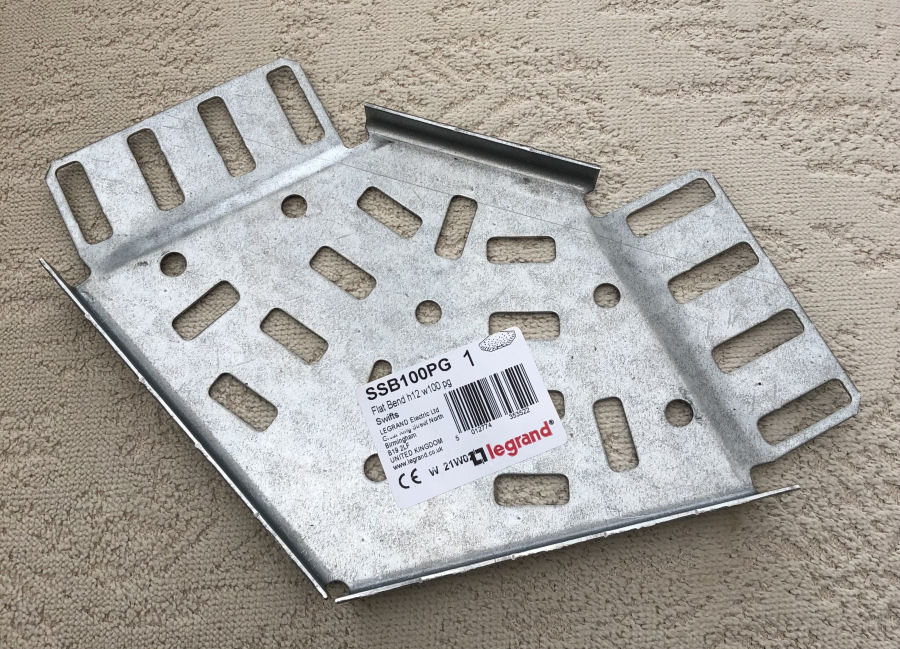
These Legrand SSB100 90° brackets are used to connect the above straight sections.
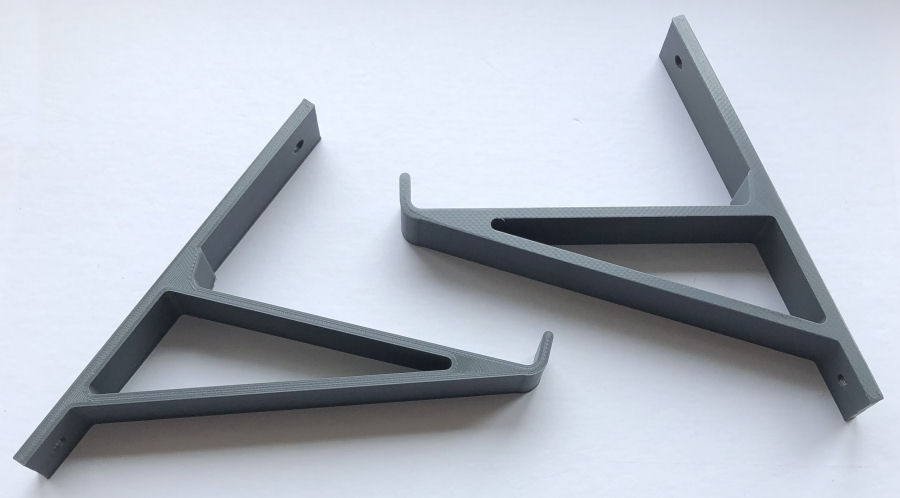
Mounting Brackets
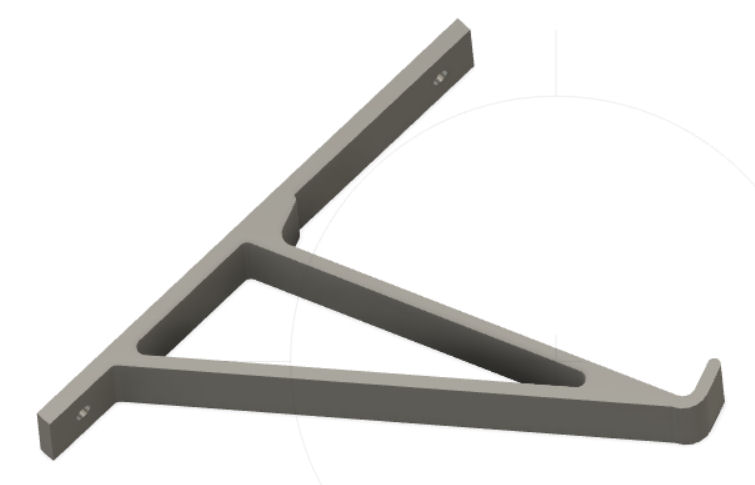
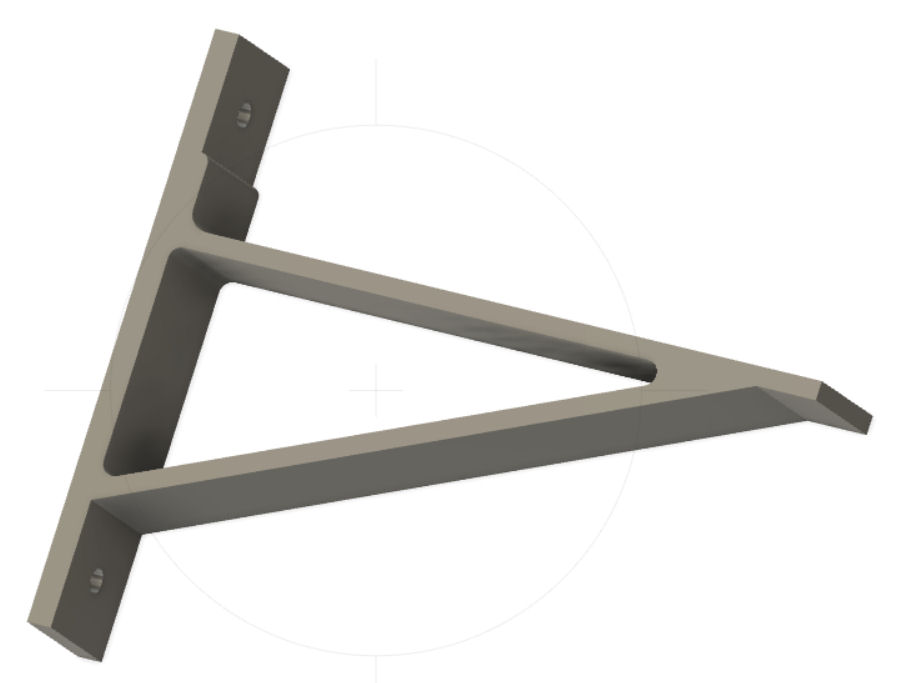
I can use standard 90, 'off the shelf' mounting brackets for the end wall sections but, for the trays that run down the length of the roof, I need brackets with a 21° angle, to mount to the sloping part of the roof truss. So I designed some for 3D printing using Autodesk Fusion 360. The brackets are 20mm wide and have two 4mm diameter holes to be screwed to the wooden joists. My design is really strong and designed to make access to the screw holes really easy too.
You can download the .STL file.
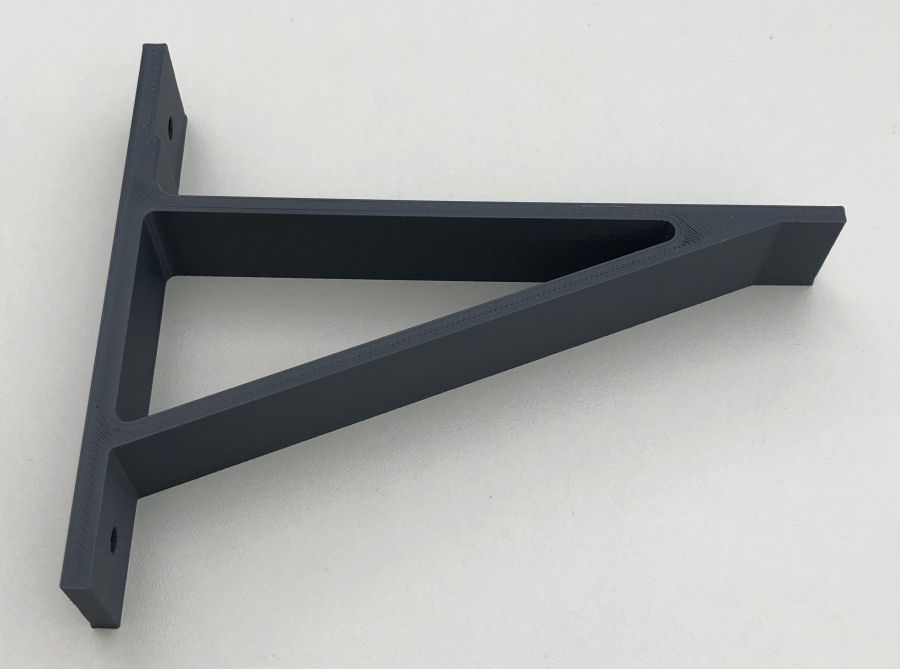
These are some of the 3D printed brackets. The only downside with this approach is that they each take about 3 hours to print on my Ender 3 Pro 3D printer. The great thing about 3D printing though is that you can just start the printer and leave it to it. The cost of the PLA used (21g) is very small (less than 40p each). I need 28 of these brackets, if I put one on every roof truss (about 60cm apart). Initially, I plan to do every other one though, the others can easily be added later.
I could use standard 90°, 'off the shelf' mounting brackets for the end wall sections but, it was just quicker and easier to design my own for 3D printing. For my installation, I need 8 of these brackets, 4 at each end. This design allows for expansion of the cable trays, i.e. they can slide a few millimeters on the bracket.
You can download the .STL file.
The 90° 3D printed bracket.
Fixings
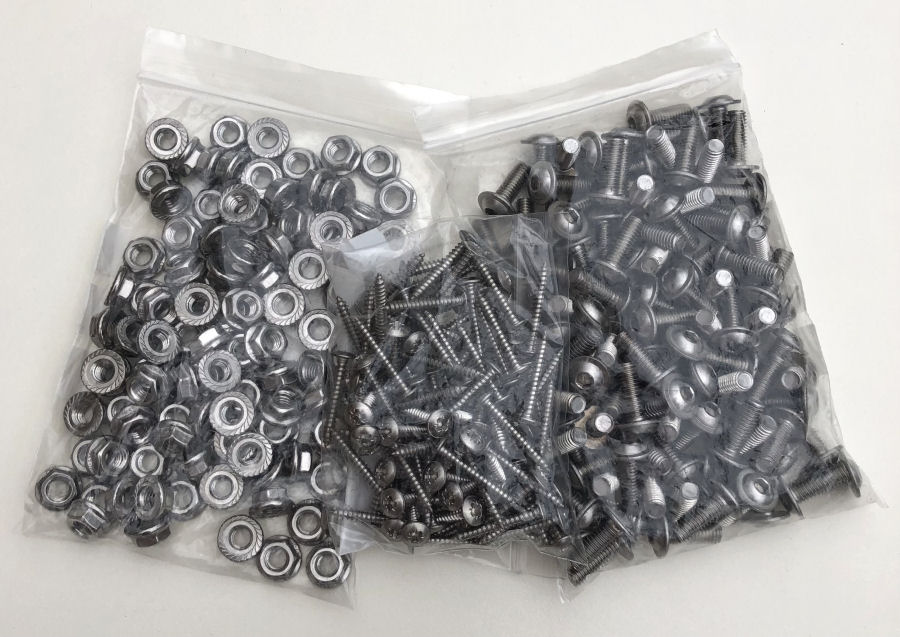
The brackets are attached to the joists using flanged, self-tapping, stainless-steel, No. 6 × 1" (3.5mm × 25mm) screws. The trays are bolted together using M6 × 16mm flanged bolts and M6 stainless-steel, flanged nuts. I bought packs of 100 for all three and the total cost was less than £20.
Installation
The 'linear coefficient of thermal expansion' for steel is 0.0000126 per °C. This means that if the temperature drops by 20°C the 8.5m cable tray will decrease in length by 2.14mm and if the temperature increases by 20°C it will increase by 2.14mm. This means I have to allow for just under 5mm of expansion from, let's say 0°C to 40°C in my loft. In practice the temperature variation is typically between 10°C and 35°C over a whole year.
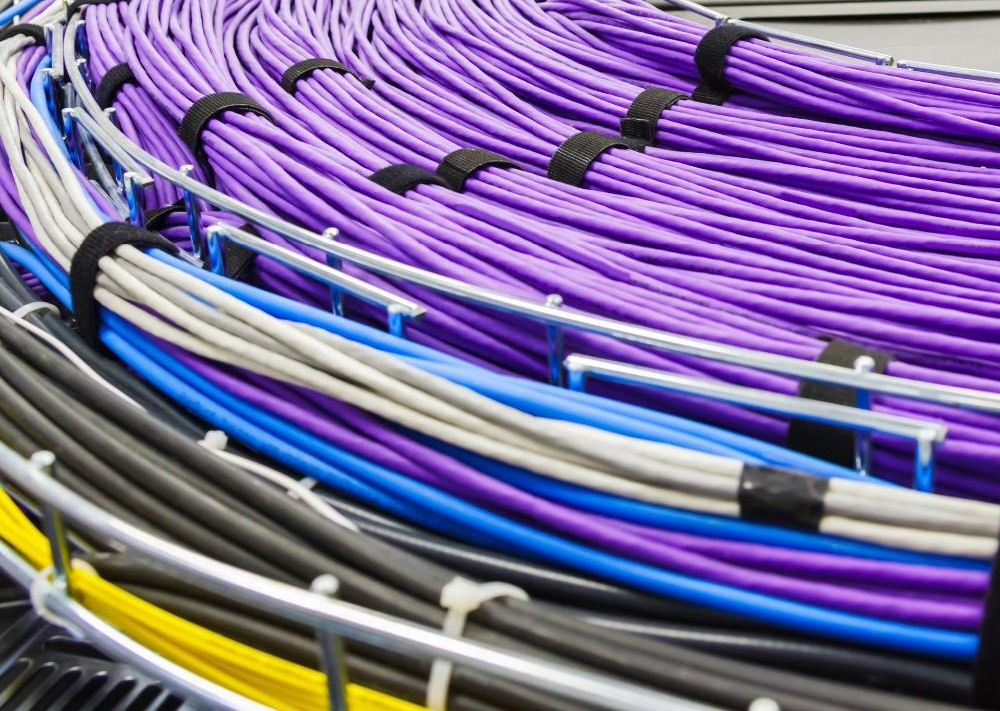
There are two options for fixing the Ethernet cables in place within the trays. Tie-wraps work, so long as they are not done up too tight. Velcro tape is another option.
Summary
I'm currently 3D printing the brackets to allow me to start fixing the cables trays in place. I'm currently 3D printing three each day, since they take just over 3 hours to print each one.


