PIR Sensors
The use of a Passive Infra-Red (PIR) sensors in each room of our house provides both intrusion detection and occupancy detection to our contextual smart home. We have avoided wireless PIR sensors wherever possible and use wired 12V dc PIR sensors. These are much cheaper, much more reliable and have much lower latency. We use 12V dc signalling to provide maximum immunity to interference and this also allows very long cable runs (50m or more).
We have several types of PIR sensors in our home but they are all electrically quite similar:
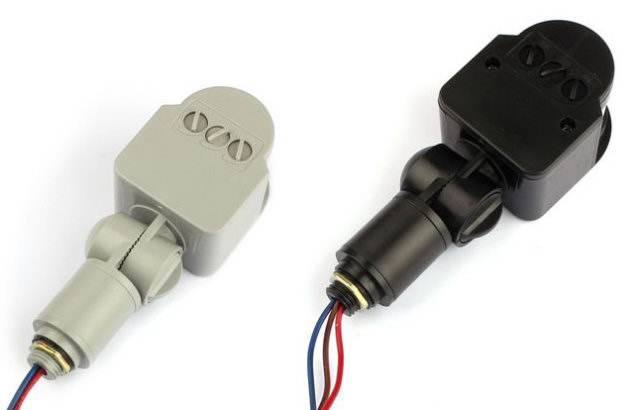
Quest PIR
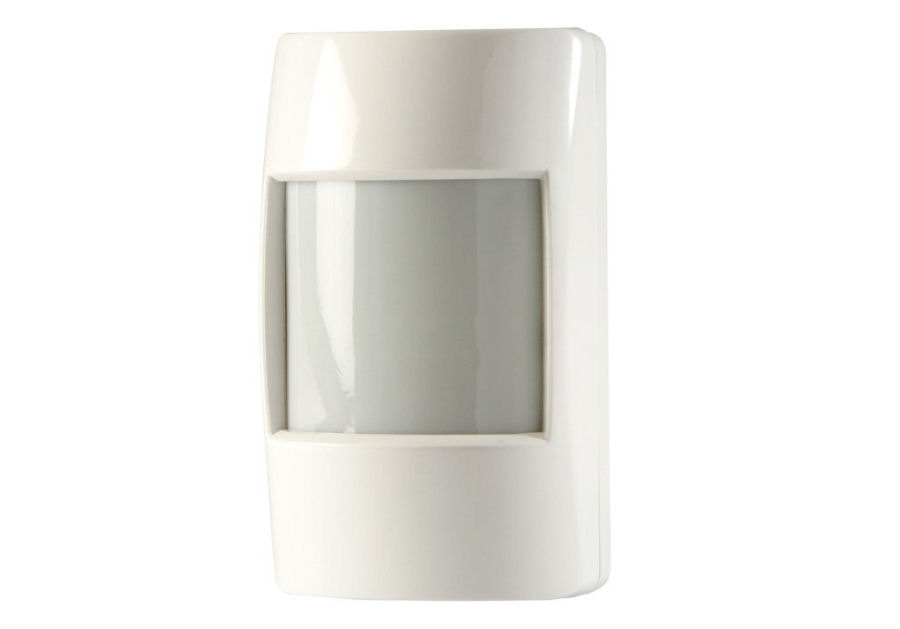
The majority of the PIR sensors used in our home are Quest (Elite Security Products) devices. These are designed to work indoors with a 12V dc supply and draw 15mA. They have an internal relay which is used to switch a 12V signal and the relay contacts are normally closed. The really is really quiet in operation but those with good hearing will hear it in a quiet room. These devices are directional and need to point in the right direction. If bought in bulk, these work out at less than £6 each, which is much cheaper than any wireless PIR sensors you can buy.
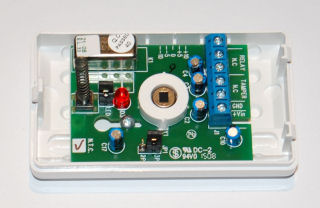
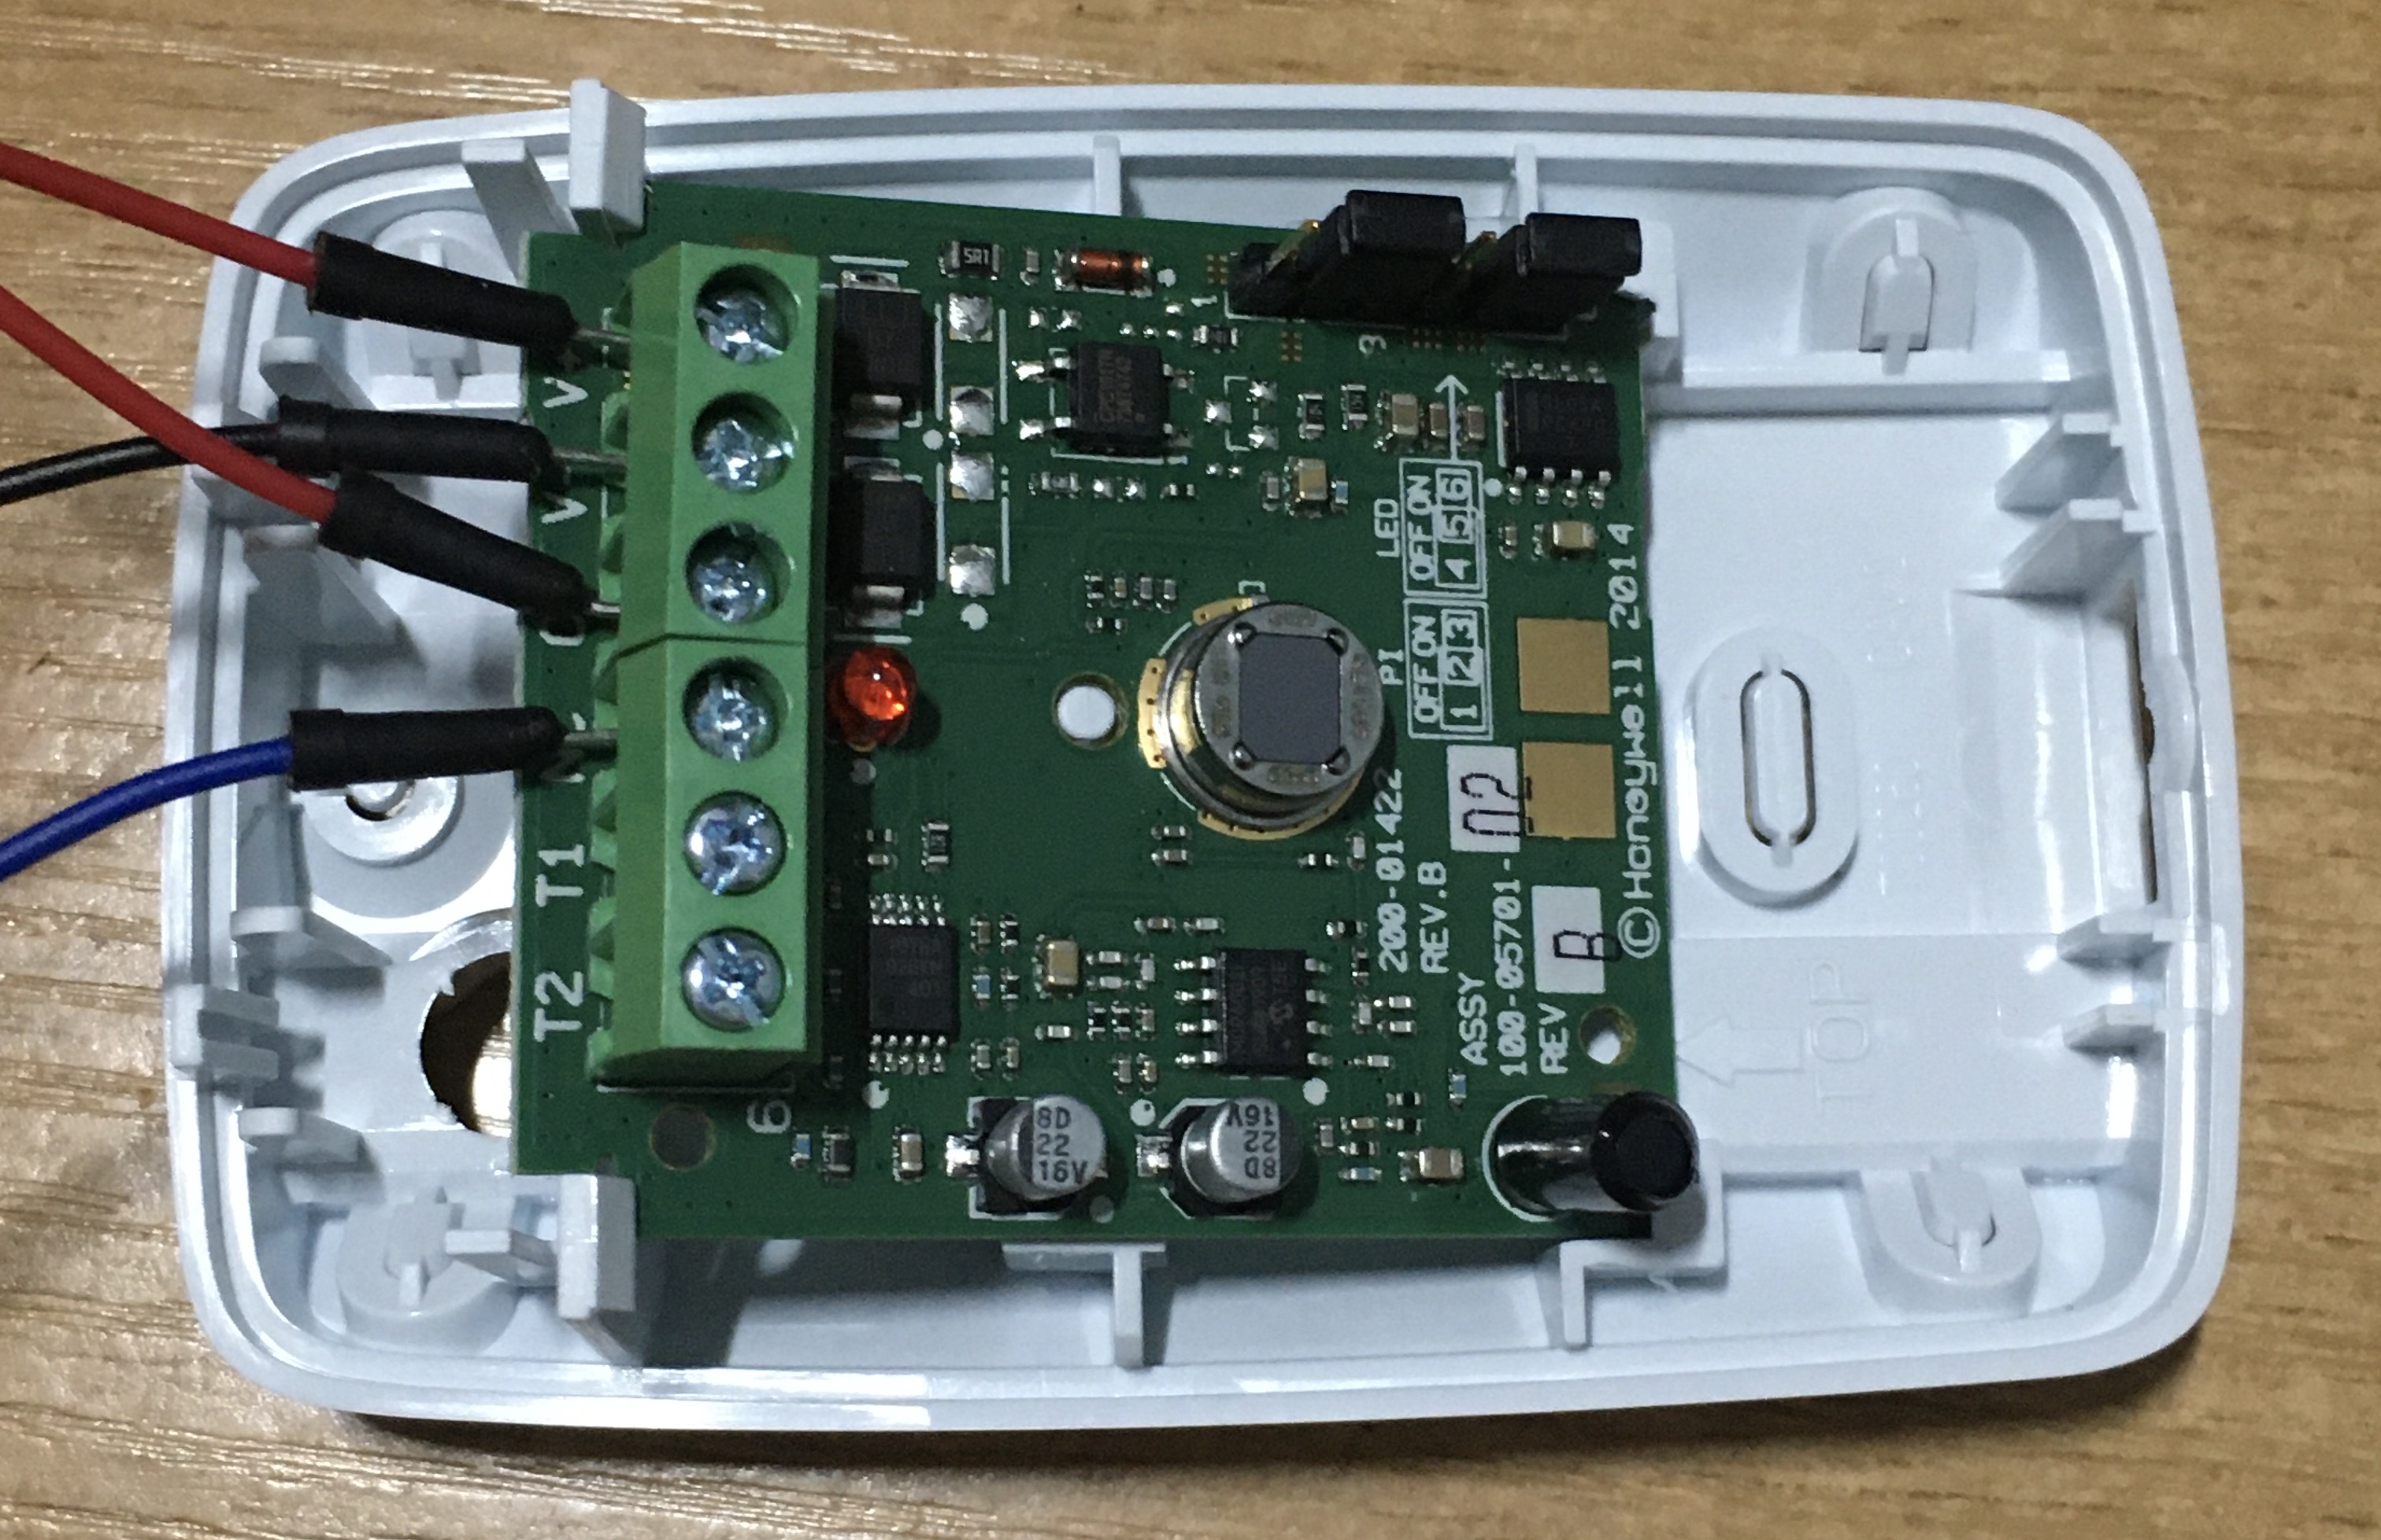
This is the view inside the Quest PIR sensor. The supply to the PIR sensor is also fed in to one side of the relay and the other side is taken to the output line. Because it is a normally closed relay, this means that the signal is active low. We can easily handle this in the HCS software though.
Arduino HC-SR505 PIRs
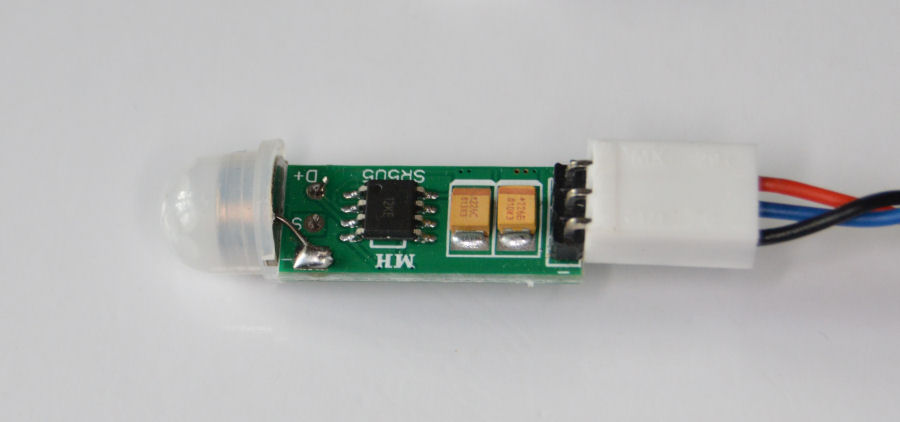
Sometimes we need to use tiny PIR sensors and then we use these 'Arduino HC-SR505 PIR' sensors which are just 10mm in diameter. These work from 4.5V dc to 20V dc but the output signal is 3.5V dc, which makes them ideal to interface using our Arduino shield. They are also very cheap at around £2.50 each. Because they are so small we can almost make them invisible when installed correctly.
360 Degree PIRs
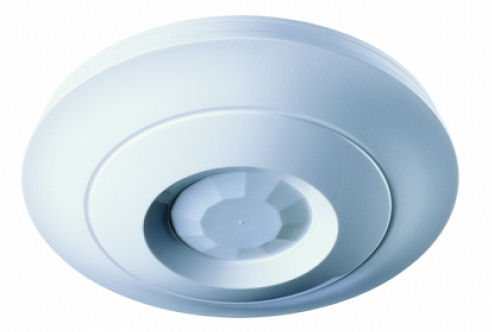
The other type of the PIRs used in our home are Texecom RF360 devices. These are designed to work indoors with a 12V dc supply and draw 16mA. They have an internal relay which is used to switch a 12V signal and the relay contacts are normally closed. This sensor is used in places where we want a full 360° coverage. Typically, this might be in the centre of an entrance hall or a similar large room.
Outdoor PIRs
We also use a number of outdoor PIR sensors. This one is a cheap, waterproof PIR sensor bought on eBay. It has a light level sensor which we deactivate (to ensure they pick up movement during the day) and also has a built in timer (which we set to minimum). It uses a 12V dc power source and provides a 12V output.
Honeywell IS312B
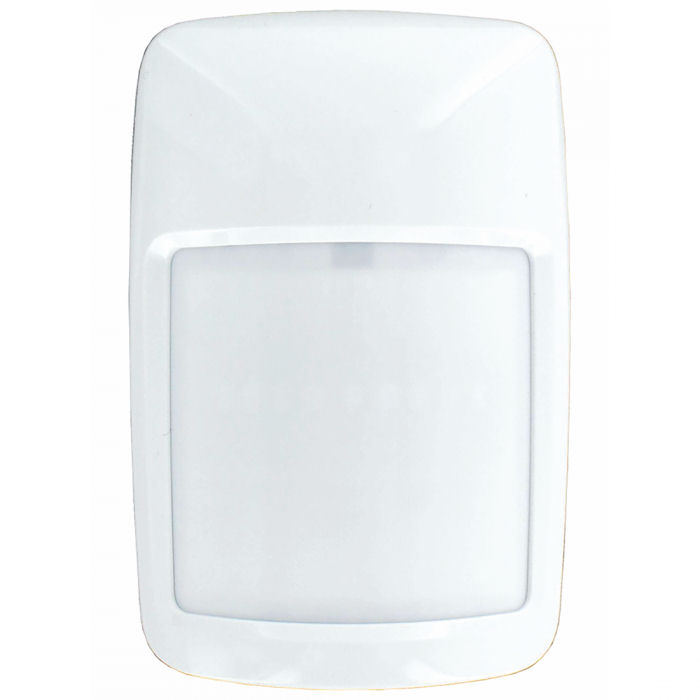
In some locations (such as bedrooms), we require totally silent (solid state) PIR sensors that don't have internal relays. In these cases we have installed Honeywell IS312B PIR sensors. These also have configurable pet immunity and internal LED. They are a bit more expensive than the Quest PIR sensors but are very well made and come with a bracket to enable the mounting angles to be adjusted.
We use 4 connections to each PIR sensor. Both 'V+' and 'C' are connected to the 12V supply. The 'V-' terminal is connected to ground. The 'NC' terminal is the active high output.
On power up, these sensors have a start-up delay (the LED stays on during this period). The output is active high from power on.
Power & Wiring
All of the PIR sensors in our home are wired back to one single point, for connection to our Home Control System. This doesn't necessarily have to be the case but, we managed to run the wiring to do this fairly easily. In a new build, this is definitely the best way forward. If you can't do this, then all is not lost. You can run sensors to a common input board or module and use Ethernet IO capability to achieve the same result.
We are using standard 4-core or 6-core alarm cable, which is ducted and always hidden out of sight. It is cheap, reliable and there are no issues with long cable runs because of the very low currents involved. Because we are using 12V signalling, noise and interference is not an issue either. The Home Control System end of the alarm cable is terminated with a 'standard' 4-pin 0.1" Molex connector. This means the sensors can be plugged into any one of our various input boards and this makes them independent of the I/O technology used and keeps our installation future proof.
Software
The above approach means that our Home Control System can see changes in state from all the PIR sensors and can use this to take appropriate action. Occupancy is used to extend and control heating, lighting, etc. and the PIR sensors also serve as intrusion detection sensors for when we are away from home. All PIR sensor activity is logged, so the HCS could also make predictions on occupancy in the future.
Our PIP sensors can generate a huge number of on/off events each day (over 7000) and our data visualisation project aims to help us infer insight and gain learning from all this data.
Conclusions
- PIR sensors are the second most important sensors in your home (after door contact sensors) and are valuable for both security and occupancy data.
- You must choose PIR sensors that are optimised for their location and application. This means wide 'curtain' lenses for room corners, 360º sensors for the centre of a large room and narrow beam lenses for corridors and walkways.
- You must set up the PIR sensitivity depending on location and application. The Quest PIR sensors we use have a 'jumper' to configure activation on 1, 2 or 3 counted pulses.
- Wired sensors are best! It can be a pain to run standard 6-core alarm cable to PIR sensors but it really is the most reliable method and enables a central power supply and 12V UPS to be used and ensure they continue to work during mains power failures. Wired sensors also give the best performance.
- We have PIR sensors in every room except our bedrooms. A door contact sensor should be used in bedrooms to activate convenience lighting.
- PIR sensors are the primary source of presence information in our home.
- Wired PIR sensors are the only future-proof way of achieving this functionality. These PIR sensors and wiring will last tens of years. Replacement devices will be available for many years too. The modular nature of our installation means we can upgrade the processor part very easily but, even this will happily run for more than 10 years, without requiring any upgrade. Wireless home automation technologies and protocols to deliver the same functionality will be superseded in much shorter periods of time.


